Monday, May 31, 2010

DIY Drapes

I was originally going to make a slip cover for a chair with this fabric. I found it on a huge discount from Hancock Fabrics. Can I just say, I find the best deals there. The back of the store has remnant pieces. I can usually get 3-6 yard pieces for $3-$7/ yard. These lined drapes cost me only $42.
The fabric was $4/ yard. The lining was $2/ yard at Walmart. The tabs were FREE. I bought some new black pillows and they were sold as a set wrapped in a ribbon. I sewed the ribbons behind the drapes to have a back tab style. You can find them from $50 -$90 per panel as a solid color. I calculate a savings of 50%-72% by making them myself.
Don't worry you can't make drapes. I didn't have a pattern and just took it one step at a time.
  1. Measure your window - take into account how high you want to hang your rod and how thick you want your bottom hem
  2. Cut your fabric into two identical lengths. If you have patterned fabric, make sure the pattern is going the same direction.
  3. Pin the lining inside the back of the fabric- this way you finish the edges of the curtains and line them at the same time.
  4. Only sew the top and sides of the fabric. Allow the bottom to stay unfinished.
  5. Hang the drapes on the rod and hem them to the exact height you want them from the floor. I think this is the easiest because I hate measuring. Seeing it exactly the want I want it confirms the last bit of sewing will be the last bit of sewing. I don't like resewing something to make it longer or shorter.
  6. Hang the FINISHED drapes.
Did you notice this is the same fabric from the lampshade?

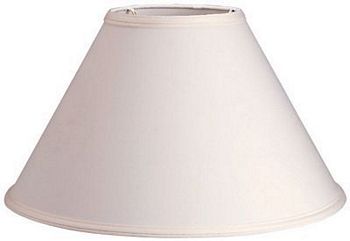
A covered lampshade

Do you have some of these? Do you also have some scraps of fabric? Put them together and see what you get...
  1. Get your white lamp shade
  2. Cut the fabric
  3. Use iron-on hemming tape at the edges
  4. Take a complementary color of bias tape and use the hemming tape again on the top and bottom edges
  5. Don't worry about melting the lamp shade... I thought I ruined it a few times, but it just cools down again and molds back the way it was.

Since this was my first shade I made a few mistakes... I forgot to put the original lamp shade seam in the back with the fabric seam. I also should have thought about how dark the fabric was - blocking the light much. I guess it gives the room more ambiance. You'll see where the rest of this fabric is from in a minute...

Eating just got prettier

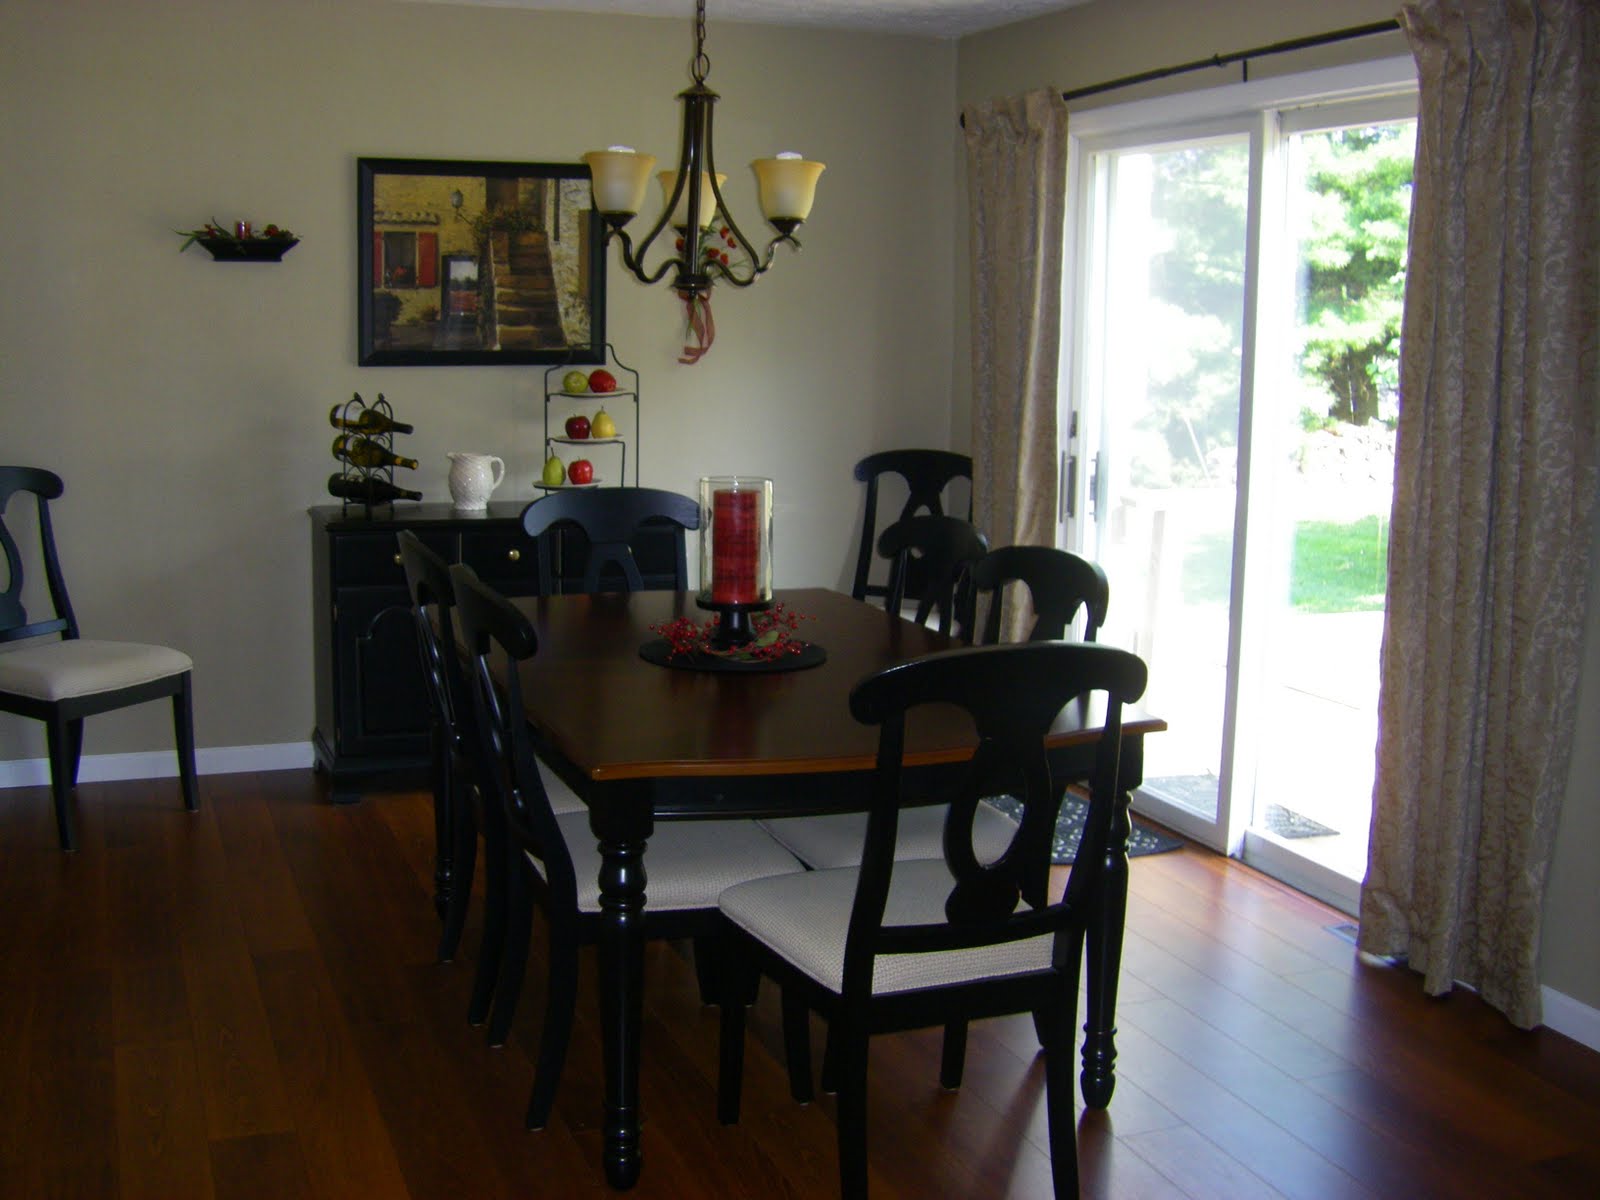
I don't think I've introduced you to my new table... It's half stained and black. The cushions are cream like the old table. We bought 4 more to have a set of 8. We're excited for all of our summer guests. We sold the old table on craigslist in a matter of hours. Two old ladies came by the house the next day with a pick-up truck.
I love it. I hope you can enjoy a meal with us soon :)

Tuesday, March 30, 2010

Thrift Store Run

I had taken a break from the thrift store, mainly because they hadn't had many new donations. I have been waiting for the weather to get warm and people to get motivated to donate again. Our local thrift store is directly related to our local hospital-- so I feel pretty good about donating and buying knowing that I am helping a good cause. I save money and donate to charity all at the same time. Don't get your hopes up... I had this shelf, but it needed to be painted white to be hung in the gray bedroom. It was just in the basement for my spray paint party on Sunday. On to what I found at the thrift store... a picture with a frame ($6) and a lamp ($4.50). I forgot to take a picture of the beautiful painting (insert sarcasm) that was in the frame. I have been looking for a large frame to paint white and put a chalkboard inside to mount on the kitchen wall. This project is to be continued... This is the frame... more closeup pictures to come. The lamp... just the height I was looking for, but it needs spray paint. I was just going to do black, but I was out. Can you believe I ran out of black spray paint? I used the bronzed metallic spray I used on the kitchen cabinet knobs. Always remember to tape off the electronics before spraying. What do you think? Pretty good for a $4.50 lamp.

Bird Houses for Relay for Life

Our Relay for Life team at church is doing an auction of bird houses. I was given a blank slate and a deadline... this is how it was done with things I just had around the house. Leftover wainscoting from the bathroom was added to the roof. The roof was painted white from extra white paint I found in the basement. The house was painted the same color as the new bathroom walls and the base was painted a green color I found in my acrylic paints. I took some dark brown paint to age the paint and bring out the details of the house. I added vines to the sides... I stuffed some extra moss in the holes to appear like their was a nest inside. I can't wait to see how it helps our relay team raise funds for cancer research!

Some Spring Decorations

The little birdie was only $1.99 from Gordmans. The white container was on clearance for $4. I took styrofoam from my new table and used it instead of buying expensive floral stuffing for the bottom of the container. I added white hydrangeas with white floral buds - about $5 with some moss filler. This little chickie was only $1.99 too. I took a small 99 cent wreath and glued some moss to make a small nest. The eggs were already spring colors, but I "flicked" brown paint on them to distress them slightly. I know "flicked" is a very technical term, but I don't know what else to call taking watery paint and flicking it in the direction of the eggs. What are your favorite new spring decorations?

Chocolate Peanut Butter Crunch Bars

This might be my husbands favorite new recipe... to eat. He occasionally asks for rice krispy treats, but they are pretty boring to me. Pampered Chef came through for me again with an awesome recipe!

Chocolate Peanut Butter Crunch Bars

¼ cup dry-roasted peanuts 3 cups mini pretzel twists (about 1 2∕3 cups coarsely crushed), divided 3 cups crisp rice cereal ¾ cup butter (1½ sticks), divided 1 bag (10.5 oz) miniature marshmallows ½ cup light corn syrup, divided 1 bag (10 oz) peanut butter morsels 1 cup semi-sweet chocolate morsels

Coarsely chop peanuts using Food Chopper; set aside. Place pretzels into large resealable plastic bag; coarsely crush using flat side of Meat Tenderizer. Set aside ¹∕3 cup of the pretzels. Place remaining pretzels and cereal in Stainless Mixing Bowl.

Place 6 tbsp of the butter in Classic Batter Bowl. Microwave on HIGH 30–45 seconds or until melted. Add marshmallows; microwave on HIGH 45–60 seconds. Stir until marshmallows are completely melted using Mix ‘N Scraper®. Immediately add marshmallow mixture to mixing bowl; mix thoroughly. Spread crust evenly over 9x13 pan; firmly press into pan using waxed paper.

Combine 2 tbsp of the butter and half of the corn syrup in Small Micro-Cooker®. Microwave, uncovered, on HIGH 30–45 seconds or until melted. Stir in peanut butter morsels; mix until melted (mixture will be stiff). Spread peanut butter mixture over crust using Small Spreader.

For ganache, place remaining butter and corn syrup in Small Batter Bowl. Microwave on HIGH 30–45 seconds or until melted. Stir in chocolate morsels; mix until smooth. Spread ganache evenly over peanut butter mixture. Sprinkle with peanuts and reserved pretzels. Place in freezer 5–10 minutes or until ganache is set. Cut into 24 squares; cut squares in half.